FRC 2024 “CRESCENDO” Challenge and our robot “Googler”
“CRESCENDO” Challenge
My robotic journey with team 931 started at the January kick-off event, where I met all team members for the first time. Together, we watched the “Crescendo” challenge being revealed, received access to the large Game Manual, and left the event to become familiar with it at home, ready for the first meeting of the season.
The following week, we spent time discussing the robot design ideas and developing the team strategy for the season. We all agreed that to maximize our chances of winning, our robot needs to be able to hang from chains at the end of the match.
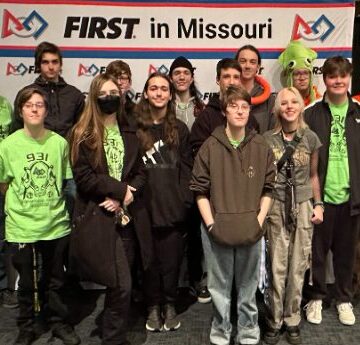
FRC team 931 at the St. Louis kick-off event
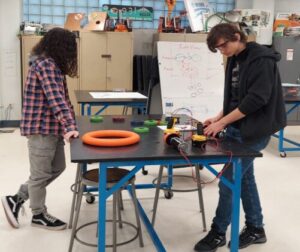
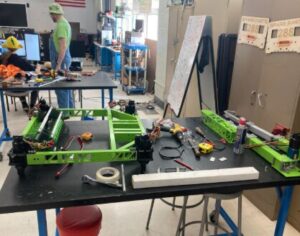
Testing different wheels for the robot shooter
Within a few meetings, I took the initiative to build a prototype for the robot shooter and engaged another student to join me. I showed him how to use simple 12V DC motors powered by an old drill. This simple setup allowed us to test different wheels and materials to find the best combination for shooting accurately without sacrificing distance. We documented our findings and shared them with the rest of our team for use during the robot development phase.
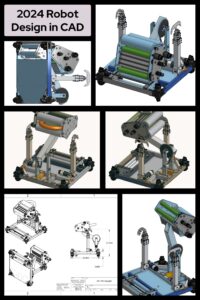
Several weeks were spent testing various designs in CAD, allowing us to simulate different ideas digitally before using our resources to build our prototype. After evaluating all CONs and PROs, we opted to use a floor pickup giving us a discrete pickup mechanism which kept our robot compact while retaining a low center of gravity which is crucial with how fast we speed across the field, we achieve this by using coaxial swerve drive which gives each corner of our robot an individual motor which can rotate in any direction allowing us to strafe side to side and move in any direction with great speed.
Along with the floor pickup mechanism, we decided to use a pass-through system where the floor pickup feeds a game element through a series of rollers, giving us precise control of its movement before handing it to our shooter, which is mounted to a pivoting arm, giving us the ability to angle the shooter and dial in exactly where we are aiming to shoot.
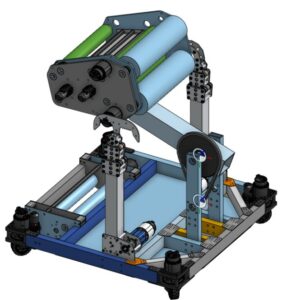
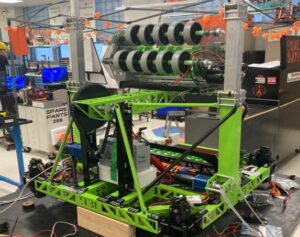
Robot from an angle view
On each side of our robot, we mounted a linear actuator with a hook; each can contract and pull up to 90 pounds. Having two of them mounted on our robot would allow us to hook onto a chain and lift our 120lb robot with ease while retaining a 60lb safety weight buffer.
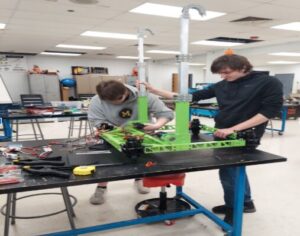
Once the robot’s design phase was complete, we started assembling it. Our team custom-fabricated many robot parts in-house using a CNC machine, enabling us to add personalized team branding and designs to our robot. We finished assembling the drive train and prepared for our next steps.
Assembling the robot’s drivetrain
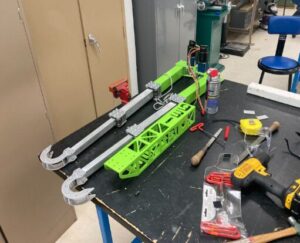
Here you can see one of the parts we fabricated with lightning holes to reduce weight, our team number for branding, and the CNC fabrication. We also have our parts powder-coated in our team’s primary lime green, with a black accent color, to truly create a robot that stands out and showcases our team’s branding. Besides the neon green channel piece, we have our climbers, which we have just assembled, and have begun testing various hook designs to see which ones work best.
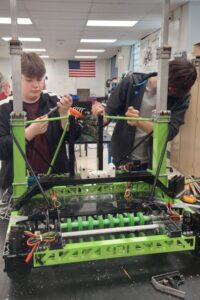
I worked with another student to mount the linear actuators on both sides of our robot, ensuring we assembled the gearboxes and spooled the cord in the correct direction to achieve the desired end effect.
Mounting linear actuators
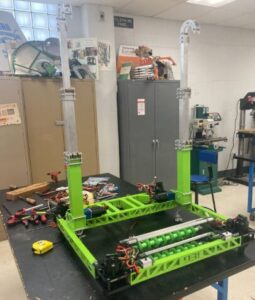
Here is our robot’s progress right after we mounted our linear actuators on the sides, along with our floor pickup mechanism, which uses two sets of squishy rubber compliant wheels spaced just far apart from each other and with the proper ground clearance to achieve a fast yet discrete pickup of a game element from the floor.
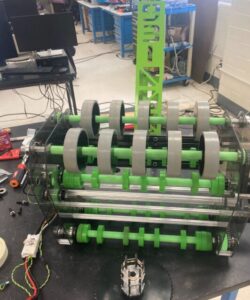
Our team spent a few meetings assembling our shooting mechanism. Here, you can see we have dual shooting axles, allowing us to shoot a game element straight or with some curve, because we drive each axle with its own independent brushless motor.
We can slow the top axle down while retaining a fast lower axle, giving the game element more drag on top, thus causing it to lift and shoot up more, and vice versa. If we slow the bottom axle down while keeping the top axle spinning fast, we can shoot the game element towards the ground with this simple yet effective design. It allows us to dial in how much lift we want the game elements to have (in this case, a ring). This advantage allowed us to better aim at the goals on the field.
After we had most of the robot built, I had a few other students help wire it. We did some soldering along with a lot of wire crimping. We wanted to retain a very visually appealing robot aesthetic, but we faced a challenge in hiding the robot’s hundreds of wires. We worked hard to hide the wires and route them carefully so they wouldn’t be so visible. In the end, I was proud of the work we had done.
Wiring the robot
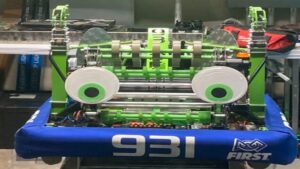
“Googler” formal picture
Once robot building and wiring were completed, we could finally breeze out, sit back, and admire all the work and effort we put into it. Great job, everyone!
The next step was to program our robot.
After spending countless hours fine-tuning the code, my team and I finally achieved the desired shooting accuracy. Please watch the video below to see our results.
Video of testing the robot’s shooting accuracy
Finally, the St. Louis Regional was just around the corner. During the first practice day, we tested our robot during the 15-second autonomous period, adjusted the code, and got ready for the event.
Our pit crew, including myself, worked very hard to keep our robot in shape by making minor repairs from swapping out wheels with burned off tread to replacing bent metal from impacts our robot took from others.

Mechanical crew in the team’s pit

Discussing a game strategy
We became one of the top alliances at the St. Louis Regional, and the alliance captain position allowed us to choose our partners. In the picture, my team and I are discussing game strategy for our upcoming match.
We watch as our robot speeds across the field, picking up game elements off the floor and scoring them into the goals.
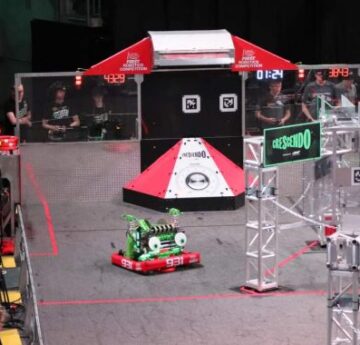
“Googler” on the game field
Video of the “Googler” field performance
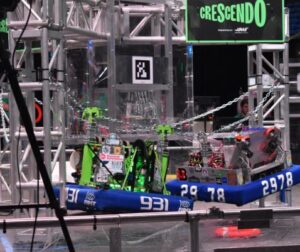
“Googler” hangs on a chain.
Video of the “Googler” hanging on the chains
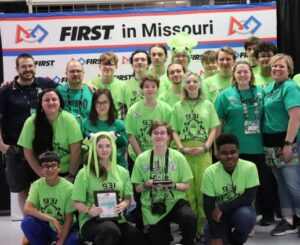
“Industrial Design” Award Winner
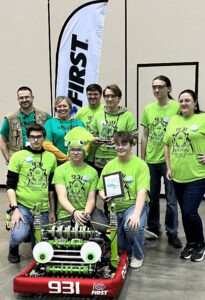
“Imagery” Award Winner
Our 2024 robotics season did not finish in St. Louis. We were able to participate in a 2nd regional competition, this time in Alabama, and did very well. Our team was the first pick of the alliance captain #5 and made it to the semi-finals once again. We took home the “Imagery award,” created to honor Jack Kamen, the brother of inventor Dean Kamen, the founder of FIRST® Robotics.